When a buyer scrolls through a property portal, photos are what stop the scroll. A listing with dark, cluttered, or hurriedly snapped images tends to get skipped entirely, while one with bright, well-composed shots can attract dozens of inquiries within a day or two. The good news is that you do not need a professional photographer or expensive camera equipment to get strong results, you just need the right approach.
Prepare the Space Before Picking Up the Camera
The condition of a room matters far more to the final photo than the gear you use. Start with a thorough clean of every space, paying attention to corners, ceiling edges, and under furniture where dust tends to collect. Remove personal items such as family photos, clothes left on chairs, or anything that makes the space look lived-in rather than move-in ready.
The goal is to create a neutral, uncluttered look that allows potential buyers to imagine themselves in the space. Before the photo session, address minor issues like peeling paint, small wall cracks, or doors that do not close properly. These fixes are usually inexpensive but make a noticeable difference in how a room photographs.
Make the Most of Natural Light
Lighting is the single most important element in property photography. The best time to shoot is during daylight hours when natural light flows in generously. Open all curtains, blinds, and windows before you start.
Avoid shooting early in the morning before sunrise or at night, since artificial lighting alone often produces unnatural color casts and unflattering shadows. If a room naturally gets little sunlight, turn on every light in that room to brighten it up, then position the camera so no bulb shines directly into the lens and creates flare.
Even on overcast days, the diffuse light from an overcast sky can work well because it is even and casts almost no harsh shadows. What to avoid is direct sunlight streaming through a window and creating extreme contrast between bright patches and dark areas in the same frame.
Find the Right Camera Angle
Where you point the camera changes how large or small a room appears. Position yourself in a corner of the room and aim diagonally across it rather than straight at the opposite wall. This approach captures more of the room in a single frame and makes the space look more generous than a straight-on shot would.
Keep the camera at roughly chest height for an adult, somewhere between 100 and 120 centimeters off the floor. Too low and the perspective looks distorted, too high and the ceiling dominates. For bedrooms, shoot from the doorway so the full room is visible from the entry point.
Avoid cutting furniture in half with the frame edge. A bed, sofa, or dining table that is partially visible looks sloppy and unintentional. Make sure key pieces are shown fully in the shot.
Which Rooms to Photograph
You do not need to photograph every square centimeter of the property, but there are spaces that buyers always expect to see. At a minimum, include the front exterior, living room, kitchen, master bedroom, bathroom, and any garage or carport.
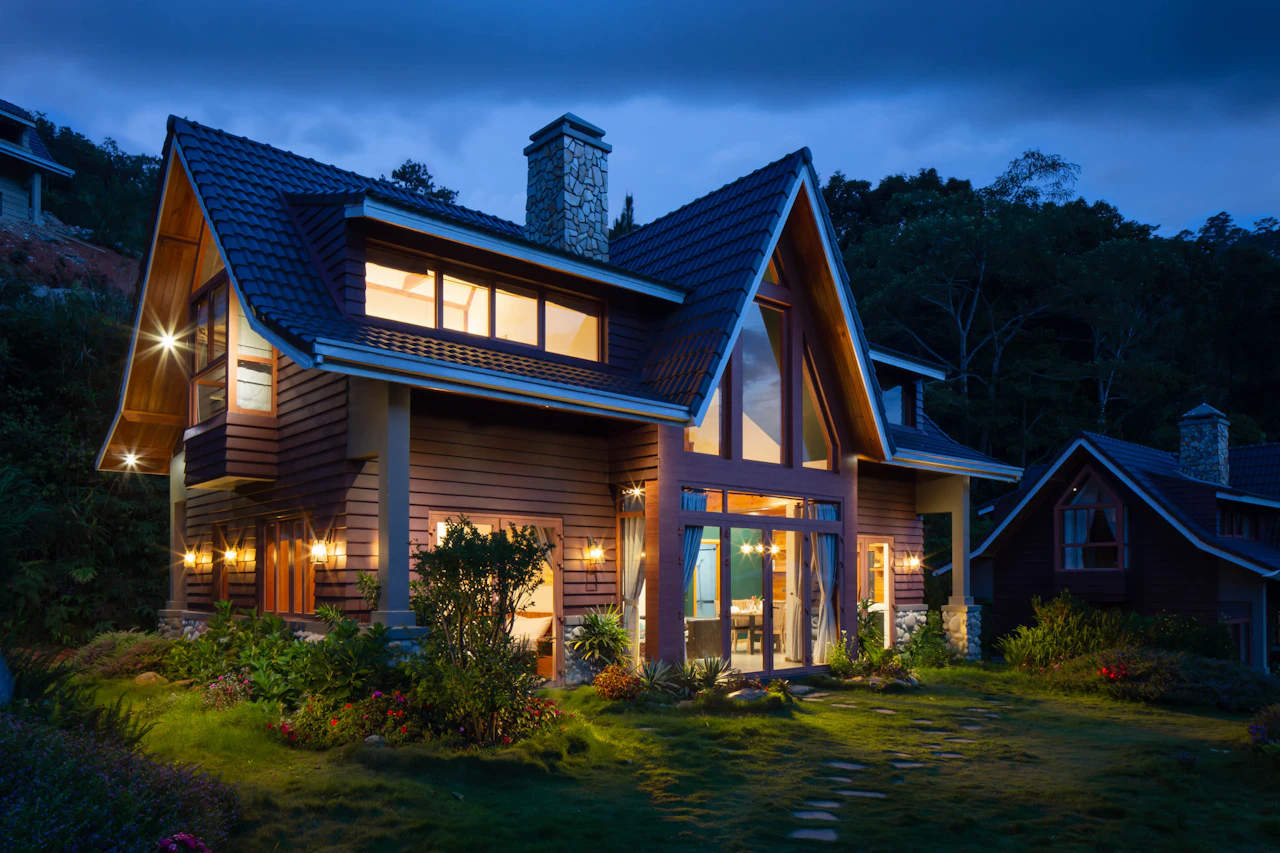
For the exterior shot, early morning or late afternoon usually works well because the lower sun angle adds depth and shadow to the facade. Make sure no vehicles or large items are parked in front of the entrance. If there is a front garden or lawn, tidy it up so it looks well maintained.
The living room and kitchen tend to be the photos that buyers look at most closely, since these two spaces are considered the heart of any home. Spend extra time preparing and shooting these rooms to make sure they look their best.
Getting Good Results from a Smartphone
You do not need a professional-grade camera. A mid-range to high-end smartphone from the last few years has a camera capable of producing excellent property photos, provided you use it properly.
Enable the grid lines in your camera app to help keep horizontal and vertical lines straight. A tilted photo immediately looks amateurish and can erode buyer confidence. Avoid digital zoom as it degrades image quality, and instead physically move closer to the subject if needed.
Use the HDR mode if your phone supports it, as it helps balance bright and dark areas within a single frame. After shooting, a basic editing app can be used to modestly increase brightness and contrast if the image looks flat, but avoid over-editing to the point where the property looks different from how it actually appears in person.
Resolution and File Quality
Always save and upload photos at their full original resolution. Small or heavily compressed images look blurry on screen and immediately signal to buyers that the seller is not putting in effort, which can undermine trust before any conversation even starts.
Most property portals accept files of several megabytes per photo without any issue. For a single listing, uploading somewhere between eight and fifteen photos is generally a good range. Too few leaves buyers wondering what you are hiding, while uploading twenty nearly identical shots of the same room wastes their time and dilutes the impact of your best images.
Arrange the photos in a logical sequence: start with the exterior, move through the living room, kitchen, bedrooms, and bathrooms, then finish with any outdoor areas or the garage. A well-ordered gallery feels like a virtual walkthrough and tends to keep buyers engaged long enough to send an inquiry.
Small Details That Make a Big Difference
There are a few minor things that often get overlooked but can quietly undermine an otherwise solid set of photos. Close the toilet lid before photographing the bathroom. Tuck away any loose cables behind a television or in a home office corner. Make sure mirrors and window glass are free of fingerprints or water spots before the shoot.
If the property has a garden or a pool, photograph these features when they look their best. A well-kept garden and a clean pool can be genuine selling points that reinforce the positive impression created by the interior shots. Conversely, a green-water pool or a dry, overgrown garden can drag down the overall perception of the property even if the interior photos are excellent.
Closing Thoughts
Great property photos come down to preparation, lighting, and thoughtful framing rather than expensive equipment. Taking the time to tidy each room, open the windows, and shoot during daylight can produce results that significantly outperform a rushed photo session. Listings with quality photos consistently receive more inquiries and faster responses from serious buyers.
If you are thinking about selling or renting out a property in Banjarmasin and would like to talk through your marketing options, feel free to reach out to the Vorneo Property team on WhatsApp, we are happy to help.